
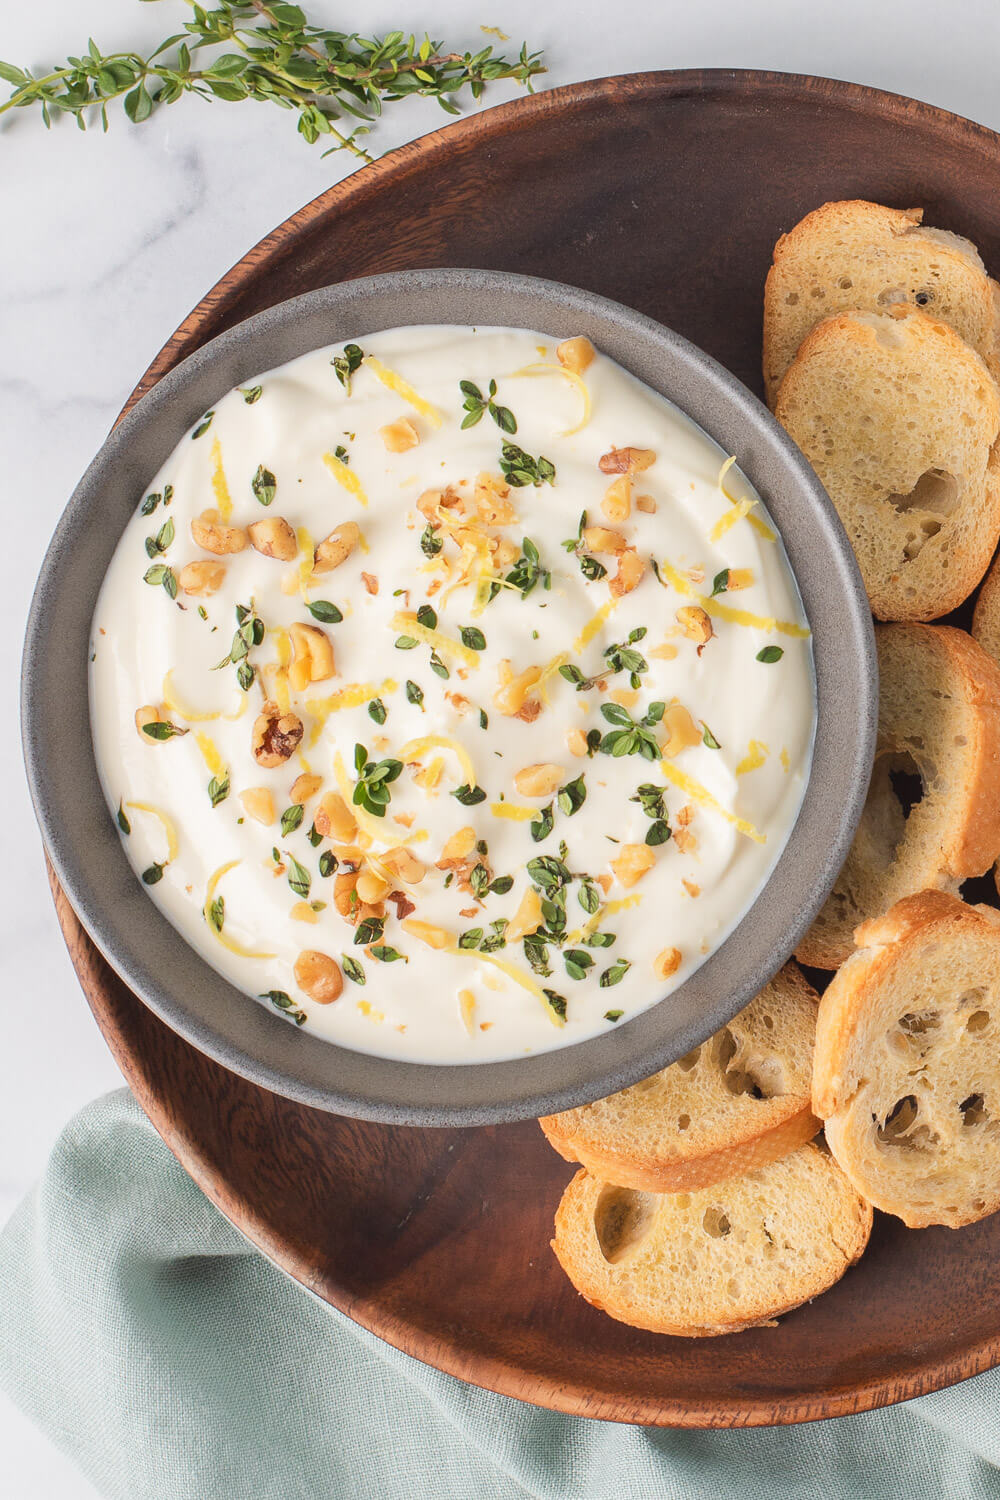


You know that whipped ricotta you order at a restaurant? Smooth, airy, and mousse-like. Then you try making it at home, and it’s more than just a little underwhelming – too soupy, too heavy, or just slightly grainy – and never quite as smooth as you hoped.
How you prep and blend the ricotta is what separates that restaurant-worthy texture from a sad and soupy mess.
WHIPPED RICOTTA AT A GLANCE
- Total Time: 5 minutes + 10 to 15 min optional drain time
- Best Ricotta to Use: Whole milk ricotta WITHOUT stabilizers
- Key Prep Step: Drain ricotta in a fine-mesh sieve for 10 to 15 minutes before blending
- Blending Technique: Pulse in short bursts for 10 to 20 seconds total
- Best Equipment: Immersion blender (best overall for control and airiness) or a high-speed blender
- Pro Tip: Chill for 15 to 30 minutes in the fridge to lock in structure before piping or spreading
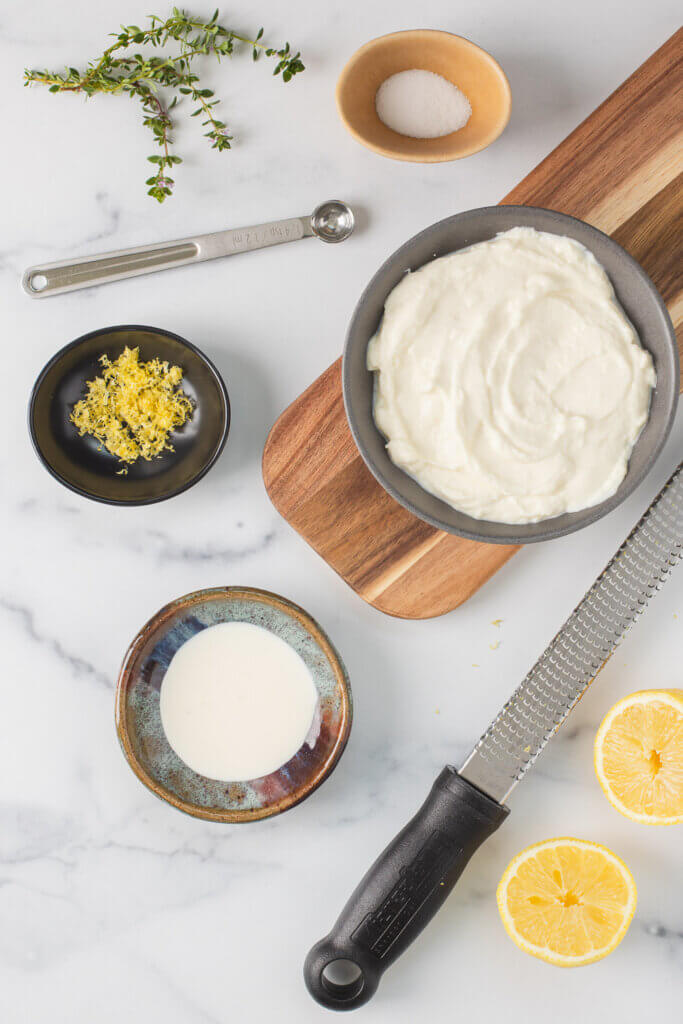
WHAT YOU’LL NEED
INGREDIENTS
- 1 16 ounce container of whole-milk ricotta without stabilizers
- 1 tablespoons of heavy whipping cream
- 1/2 teaspoon of lemon zest
- 1/4 teaspoon of fine sea salt – optional, for finishing
USE WHOLE MILK RICOTTA WITHOUT STABILIZERS
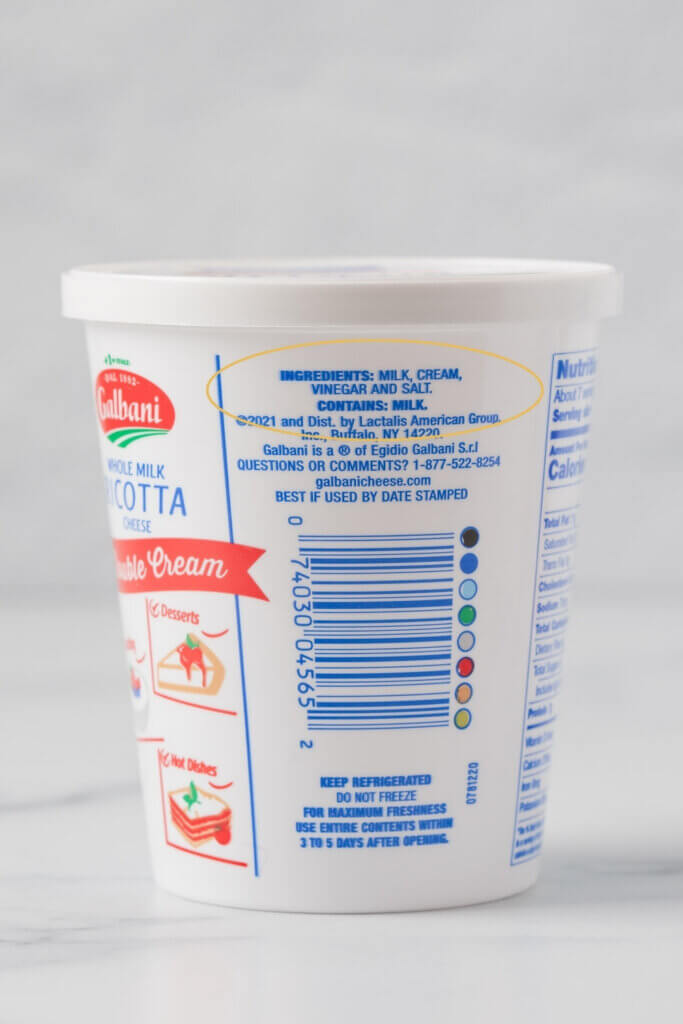
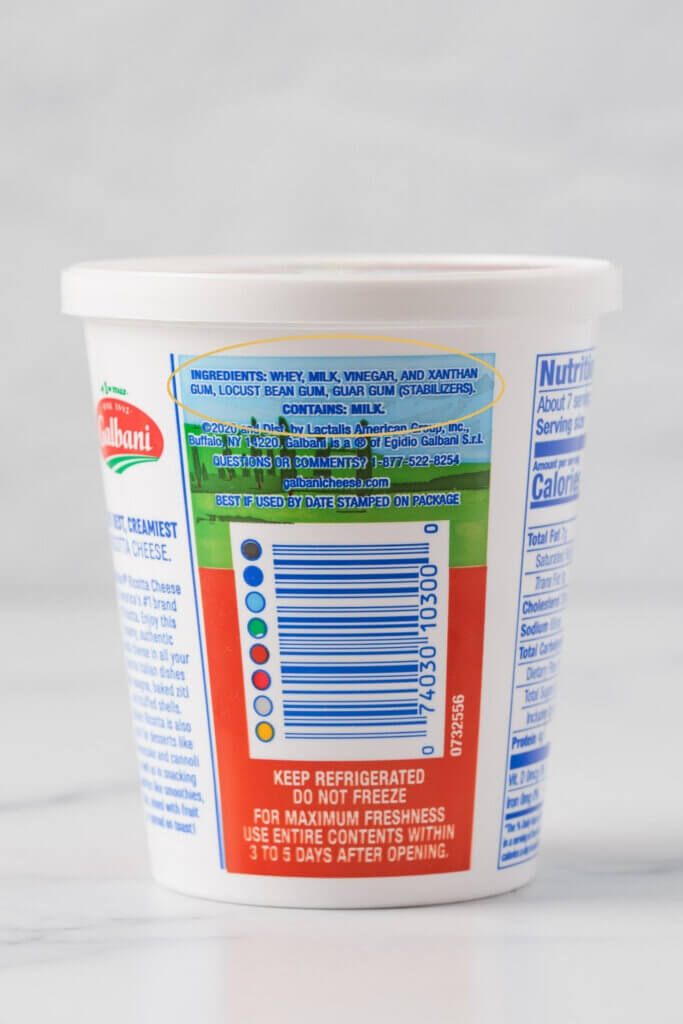
Whole-milk ricotta without added stabilizers is essential for the best texture. Its fat content is what allows it to whip up smooth, creamy, and airy. In my testing, low-fat and stabilized ricotta became soupy and gloopy rather than whipping into the light, fluffy texture I wanted. A quick ingredient check will tell you which type you have.
What to look for:
- Texture: Look for ricotta with a short ingredient list with milk, cream, vinegar and salt.
- What to avoid: Pass on low-fat ricotta or varieties with xanthan gum, guar gum, or carrageenan, which can turn soupy instead of whipping up light and airy.
USE HEAVY CREAM INSTEAD OF OLIVE OIL
While olive oil adds flavor, it doesn’t provide structure. Heavy whipping cream blends seamlessly into the ricotta, helping it aerate as it’s whipped. Olive oil coats the curds, which can leave the texture feeling slick instead of light. The cream is the secret to that cloud-like finish.
Tip: Save the olive oil for finishing. A drizzle just before serving adds richness and sheen without weighing down the texture you just worked to build.
EQUIPMENT & TOOLS
HOW TO MAKE WHIPPED RICOTTA
What good whipped ricotta should look like:
- Silky – completely smooth with zero graininess
- Structured – soft, but still holds its shape
- Stable – no weeping or separating over time
STEP 1: DRAIN THE RICOTTA FIRST
Draining is essential. Ricotta holds more liquid than you might expect straight from the container. By draining it in a fine-mesh sieve for even 10 to 15 minutes, you start with a thicker, less watery base that can incorporate air more easily.
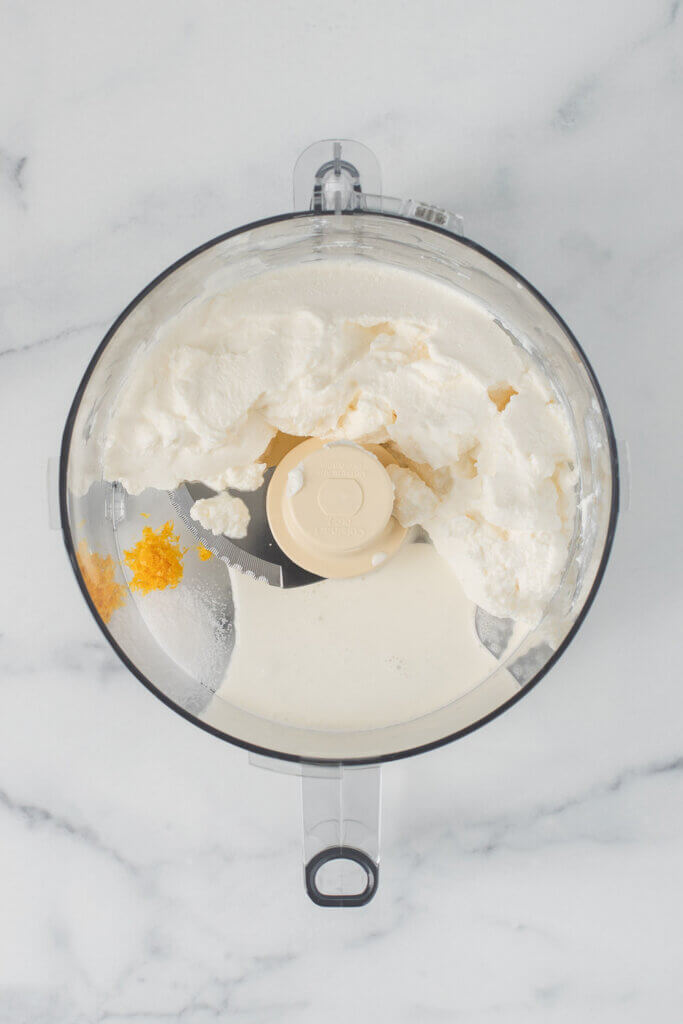
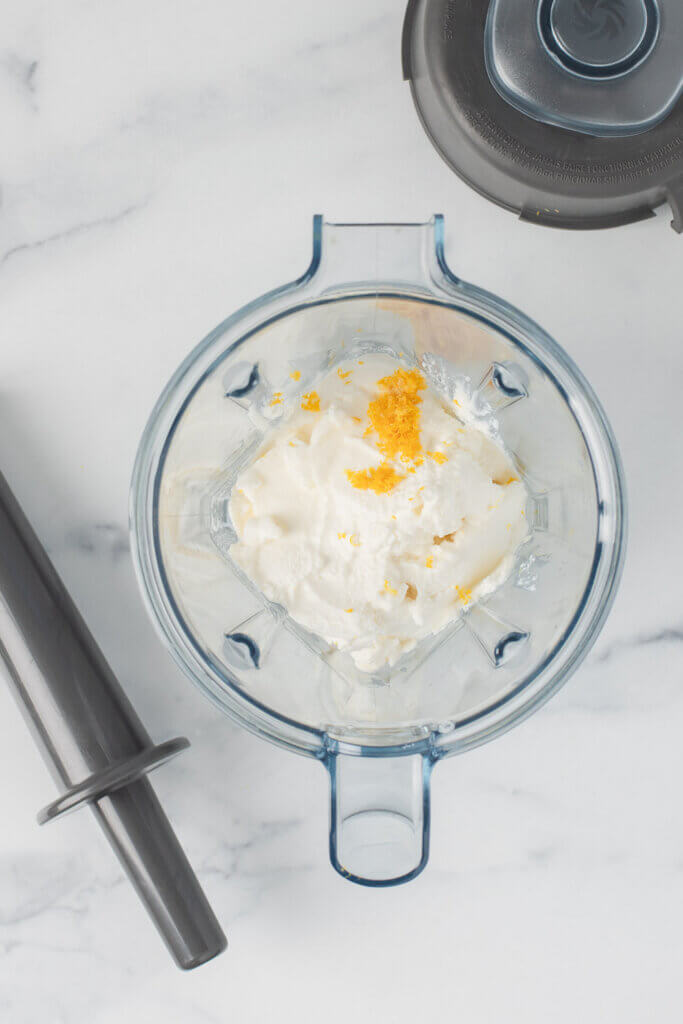
STEP 2: ADD ALL INGREDIENTS TO A FOOD PROCESSOR, BLENDER, OR TALL BLENDING CUP
BLENDING OPTIONS & TIMING
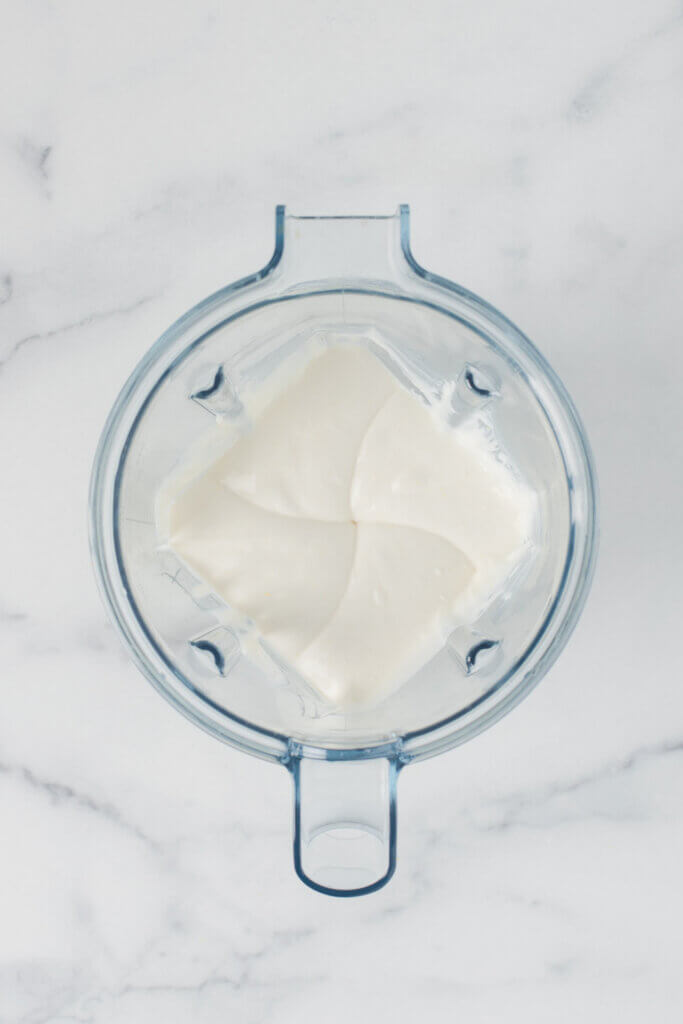
- Immersion Blender (Best Overall): This gives you the most control and the lightest texture. Move it up and down as you blend for 10 to 15 seconds.
- High-Speed Blender: Creates an ultra-smooth finish, but be careful – it can become too thin if over-blended. Blend for 10 to 15 seconds. A few quick pulses should do it.
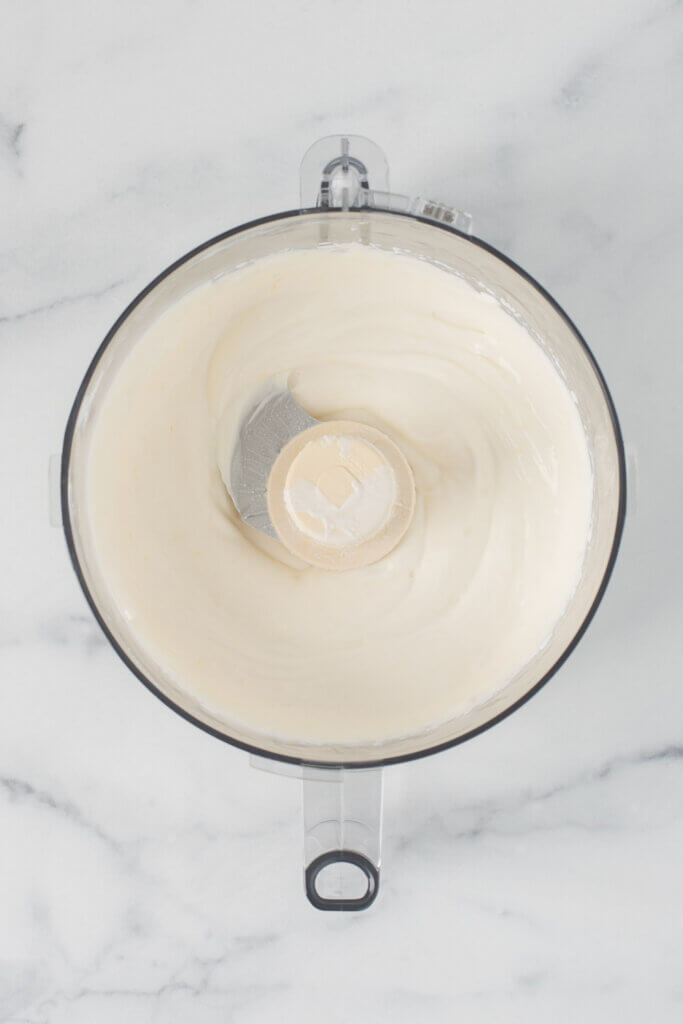
- Food Processor: Excellent for smoothing the texture, though it won’t incorporate quite as much air as a blender. Process in short bursts for 15 to 20 seconds.
- Hand Mixer: A solid backup. It may leave behind a tiny bit of graininess, but it’s a great option if you don’t have a blender. Mix on high for 1 to 2 minutes.
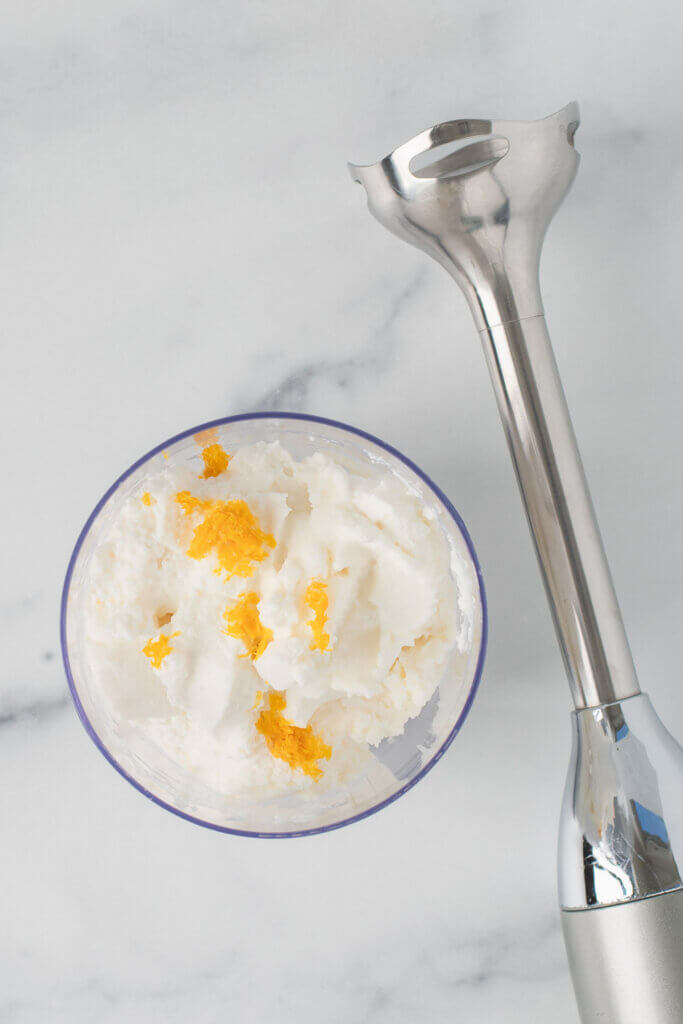
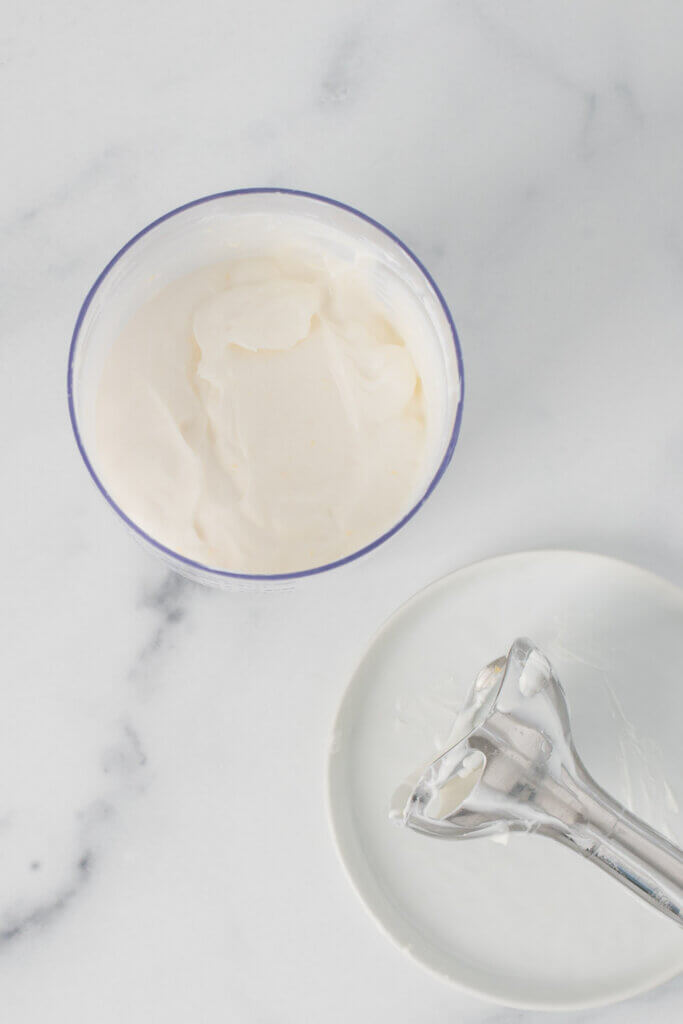
STEP 3: BLEND UNTIL SMOOTH AND AIRY
To avoid “breaking” the ricotta, you want to work in short bursts. This is what keeps the ricotta from turning thin or overprocessed.
- Process: Blend in short bursts for 10 to 15 seconds, scraping the sides as needed with a rubber spatula.
- Check: Stop and check the consistency between each round and repeat until smooth and aerated.
- Timing: Most batches are ready in 15 to 20 seconds total, depending on the type of appliance used. A hand mixer should take 1 to 2 minutes total.
STEP 4: CHILL BEFORE SERVING
Once you’ve whipped it, you can serve it immediately as a dip. If you want a firmer texture, pop it in the fridge for 15 to 30 minutes. This brief chill helps the fat set slightly, giving the ricotta more structure and making it easier to spread or pipe onto crostini.
SERVING IDEAS
Whipped ricotta pairs well with both sweet and savory toppings, making it easy to adapt for appetizers, brunch, snacks, or dessert.
- The Savory Route: Spread onto warm toasted bread with a little chili crisp. Use as a topping for roasted vegetables, or pasta.
- The Sweet Route: Dollop it onto toast and top with honey, seasonal fruit, and chopped nuts, or serve it with crepes or pancakes for a breakfast that feels a little indulgent.
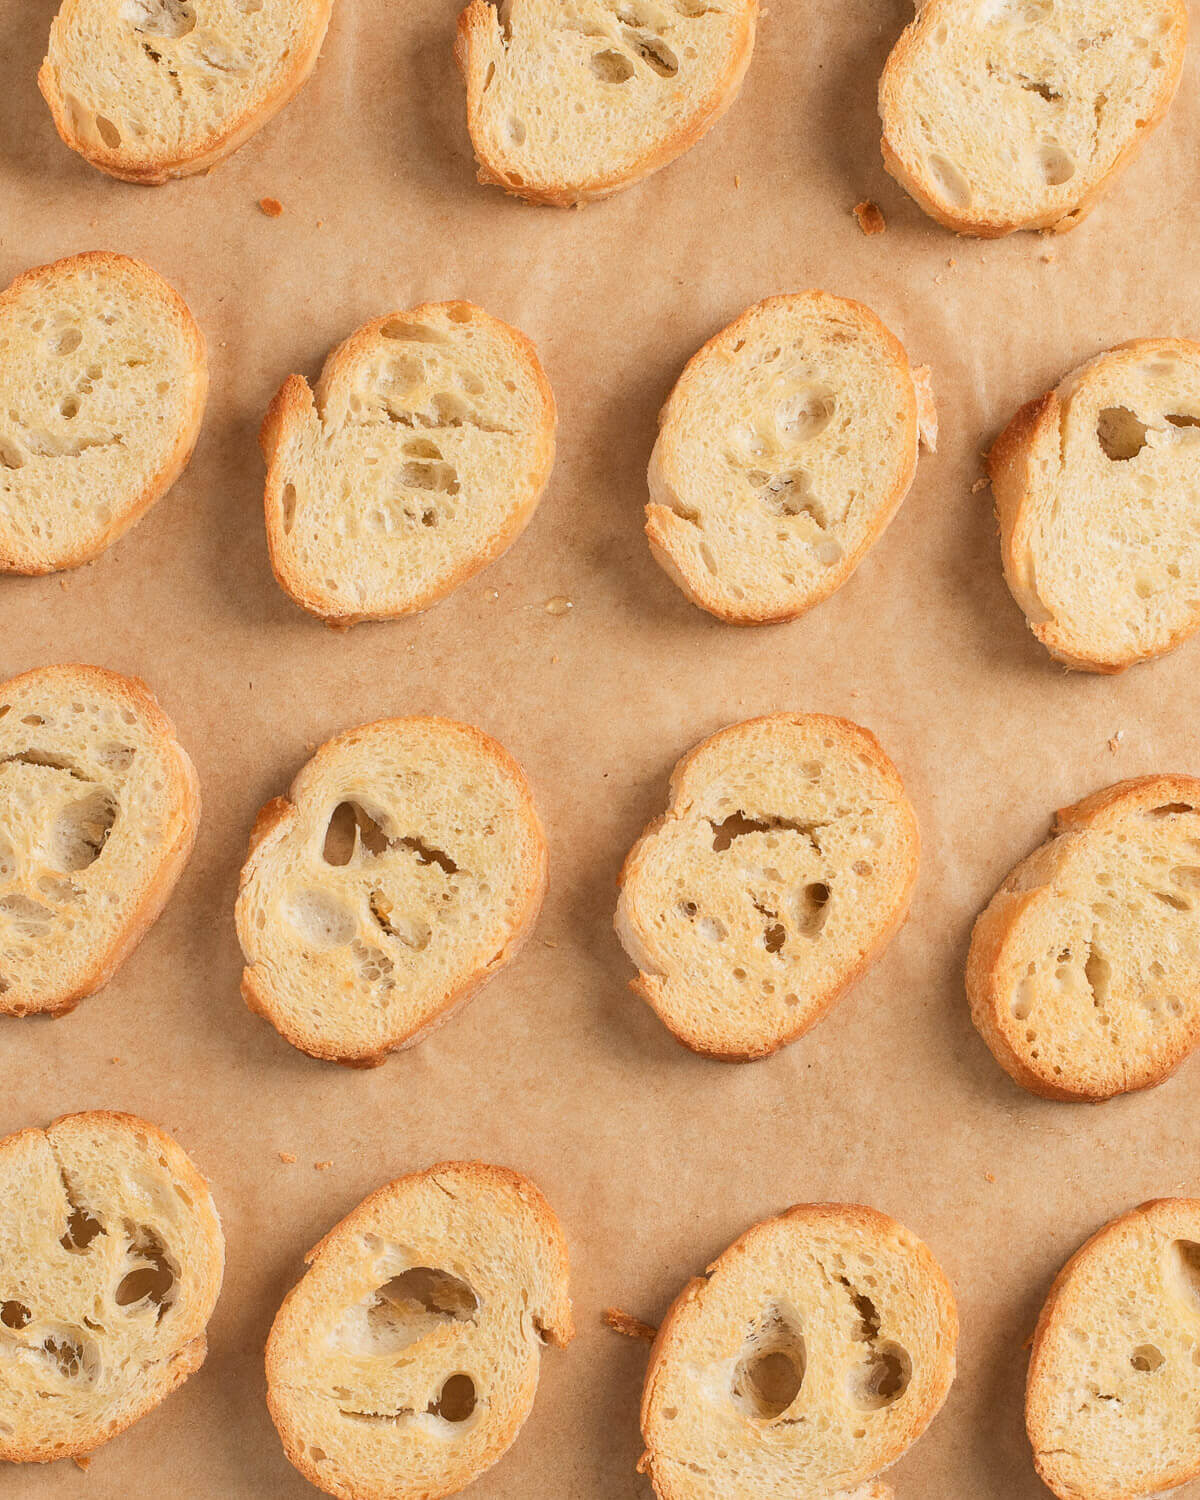
- The Crowd-Pleaser: Use it as a dip or spread for a snack board with olives and tomato confit, then serve with crackers or crostini.

MAKE AHEAD & STORAGE
Transfer leftovers to an airtight container and keep them in the refrigerator.
- Shelf Life: Best within 5 to 7 days.
- Tip: If it separates a little in the fridge, a quick re-whip with a tiny splash of heavy cream brings it right back to life.

How to Make Smooth and Airy Whipped Ricotta
- Immersion blender - or food processor or countertop blender
- 16 ounce whole-milk ricotta - without stabilizers
- 1 tablespoons heavy whipping cream
- 1/2 teaspoon lemon zest - from approximately half a lemon
- 1/4 teaspoon fine sea salt
- Place the ricotta in a fine-mesh strainer set over a bowl. Let drain for 10 to 15 minutes to remove excess liquid.
- Add the drained ricotta to a food processor, blender, or tall container if using an immersion blender. Add the heavy cream, lemon zest, and salt.
- Blend for 10 to 15 seconds until smooth and airy, stopping to scrape down the sides with a rubber spatula as needed. A few quick pulses should be enough. Avoid overblending, which can make the ricotta too thin.
- Spoon the whipped ricotta into a serving bowl. Serve immediately as a dip with your favorite sweet or savory toppings, or cover and refrigerate for 15 to 30 minutes to allow the texture to firm up slightly.




+ show Comments
- Hide Comments
add a comment