
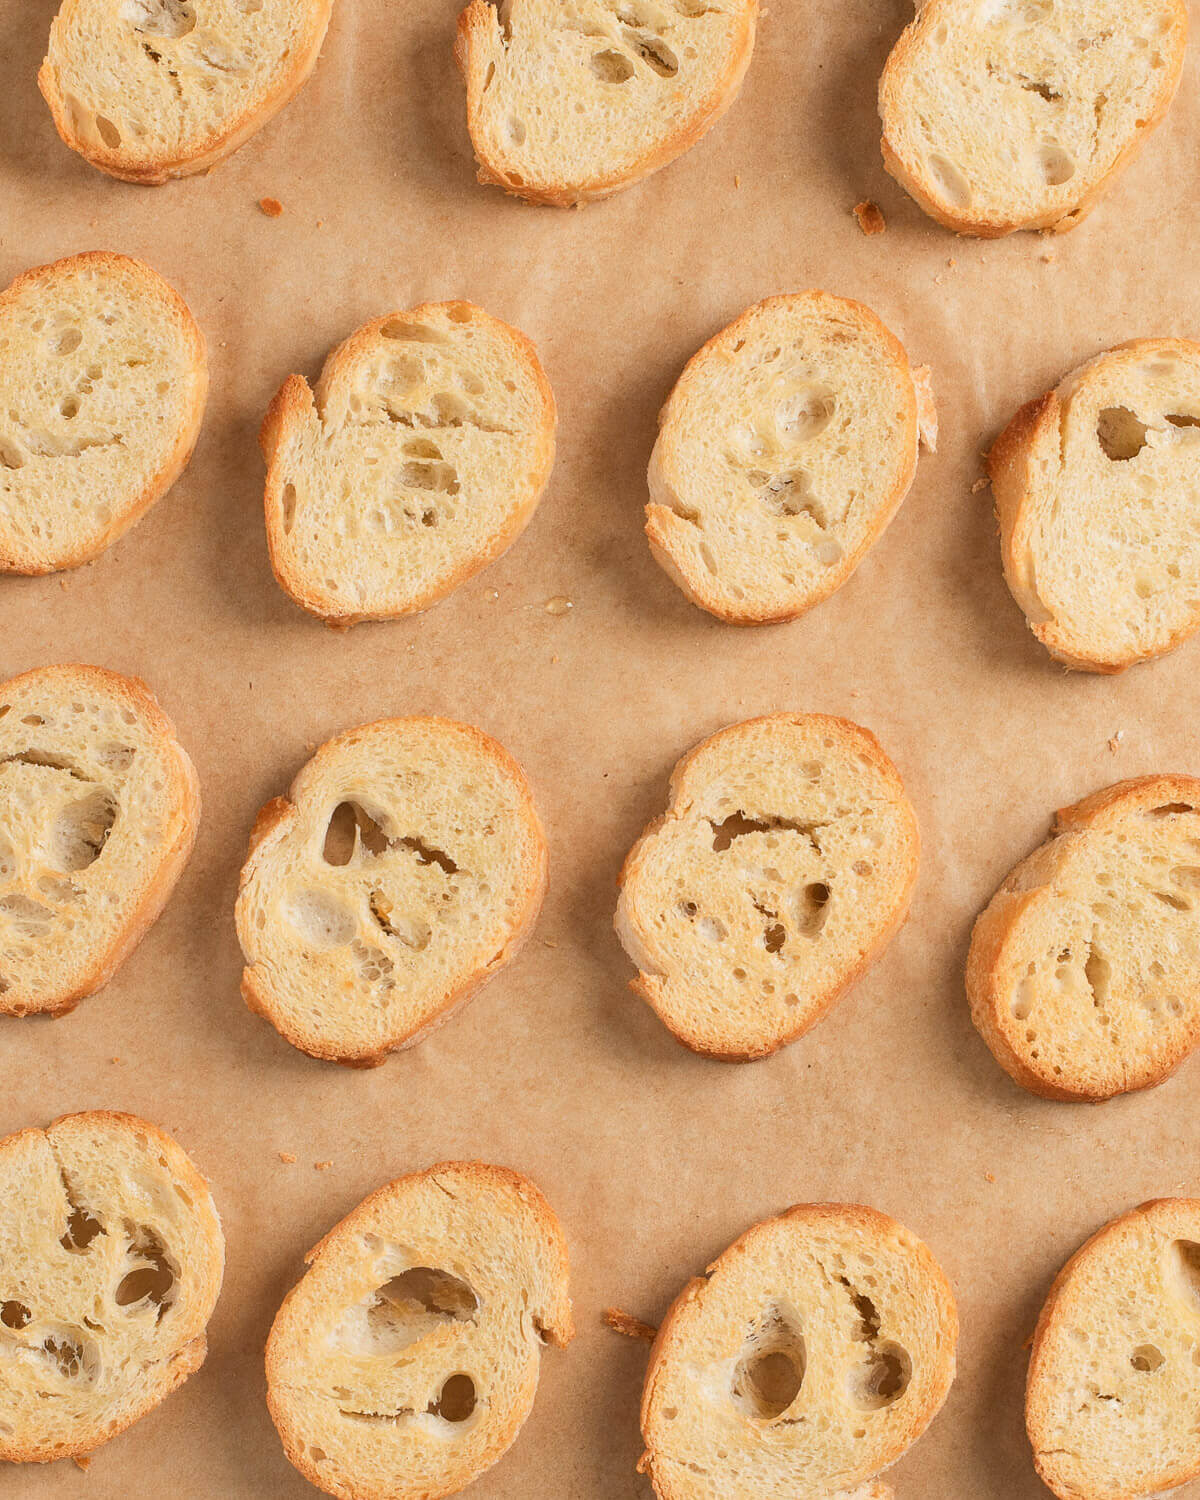


Knowing how to make perfectly crisp crostini means you’re always a few toppings away from something easy to serve. Crostini, meaning “little crusts” in Italian, are small, thin, toasted slices of bread that make an ideal base for appetizers.
Simple to make and endlessly versatile, they’re one of my go-tos for entertaining. Using just a few basic ingredients, they come together quickly with very little effort. Pair them with a wide assortment of toppings, or serve them plain alongside your favorite dips and spreads.
This approach is inspired by chef Josh Cohen’s crostini guide on Food52, with a few adjustments (slice thickness, a straight cut, and the use of a pastry brush) based on what’s worked best in my own kitchen.
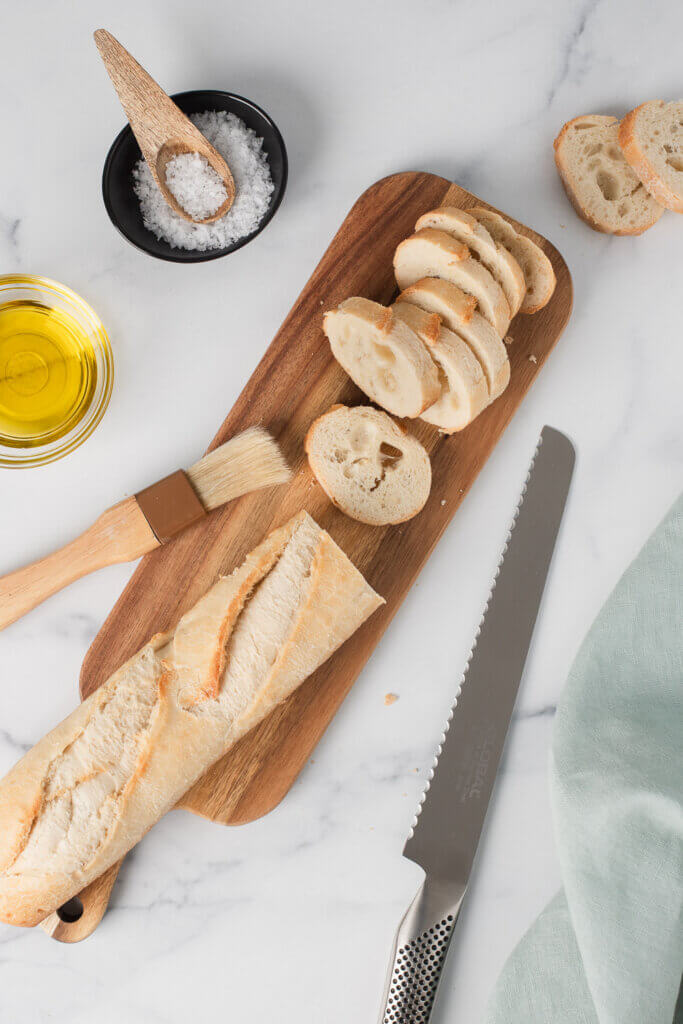
WHAT YOU’LL NEED
INGREDIENTS
- 1 thin baguette
- Olive oil, for brushing
- Flaky sea salt – optional, for finishing
EQUIPMENT & TOOLS
- Bread knife
- Cutting board
- Sheet pan
- Parchment paper – optional
- Pastry brush
HOW TO MAKE CROSTINI
STEP 1: START WITH THE RIGHT BREAD
A fresh baguette is the gold standard. I prefer a slimmer loaf that gives you a true bite-sized portion, which is exactly what you want for an appetizer.
Wider baguettes tend to make crostini that are a bit too big. And let’s be honest, nobody wants to deal with a teetering, oversized bite in the middle of a conversation.
What to look for:
- Texture: Look for a crusty exterior and a tight crumb with smaller holes.
- What to avoid: Pass on soft sandwich bread, brioche, or anything overly airy. These won’t crisp up properly and tend to collapse under heavier toppings.
STEP 2: THE PERFECT SLICE
Use a good serrated bread knife. It makes the job easy and keeps your slices clean without compressing the bread.
Aim for slices about 1/3-inch to 1/2-inch thick. Thinner than that and you risk crisping all the way through.
- The Straight Cut: I prefer to slice the bread straight across for appetizers. It creates a smaller, neater bite that’s easier to eat.
- Consistency: Try to keep the thickness identical across all slices so they toast evenly in the oven
STEP 3: USE A PASTRY BRUSH, NOT A DRIZZLE
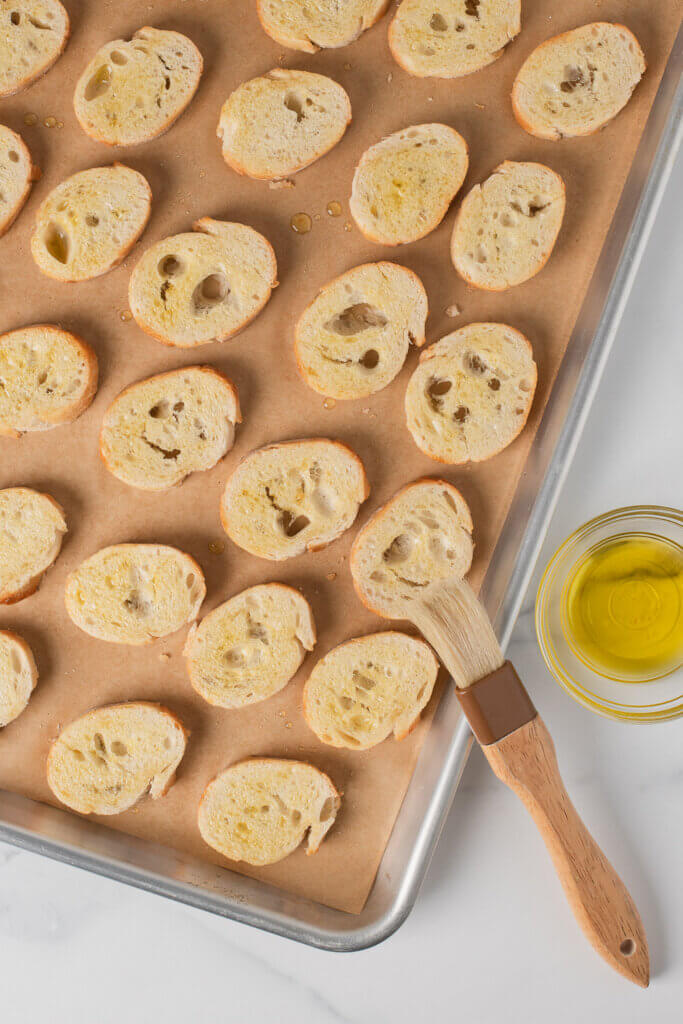
Skip the drizzle! I use a pastry brush instead. It coats the surface evenly so every slice browns at the same rate.
Use a good extra-virgin olive oil, and don’t overdo it. A thin, even coat on each slice is all you need.
On salt: If the crostini are going to be topped with something savory, I don’t bother adding salt. If you’re serving them plain, a light sprinkle of flaky sea salt after baking adds a nice finish.
STEP 4: BAKE HOT & FAST
This is where the method earns its keep. Use high heat and a short baking time – 450°F for 5 to 7 minutes.
Unlike lower-temperature methods, this one doesn’t require flipping. At 450°F, the heat circulates enough to toast both sides. The underside crisps up on its own. Flipping just adds a step and another chance to overbake.
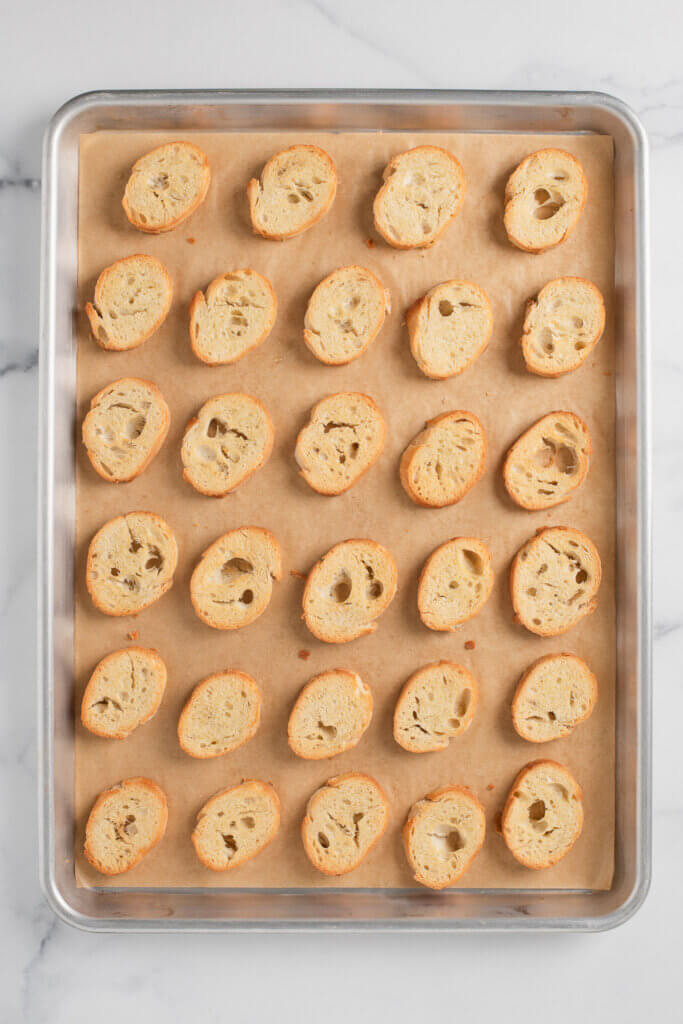
- The Process: Arrange slices in a single layer on a baking sheet.
- The Timing: Bake for 5–7 minutes, checking at the 4-minute mark. If they need another minute or two, give it to them, but don’t walk away. At this temperature, the window between golden and overdone is short.
- The Indicator: You’re looking for brown edges and a golden center.
- Cooling: Transfer the crostini to a cooling rack and let them cool for about 15 minutes before topping. If you’re storing them, let them cool completely first – about an hour.
TRY THESE VARIATIONS
- Garlic-Rubbed Crostini: While crostini are still hot, rub a peeled garlic clove directly across the surface.
- Parmesan Crostini: Add a light sprinkle of finely grated Parmesan before baking.
- Grilled Crostini: For char marks and a smokiness the oven can’t replicate, grill over medium-high heat for 1-2 minutes per side.
- Bias-Cut Crostini: Slice the baguette on the diagonal for longer pieces. The angled cut gives you more surface area to work with.
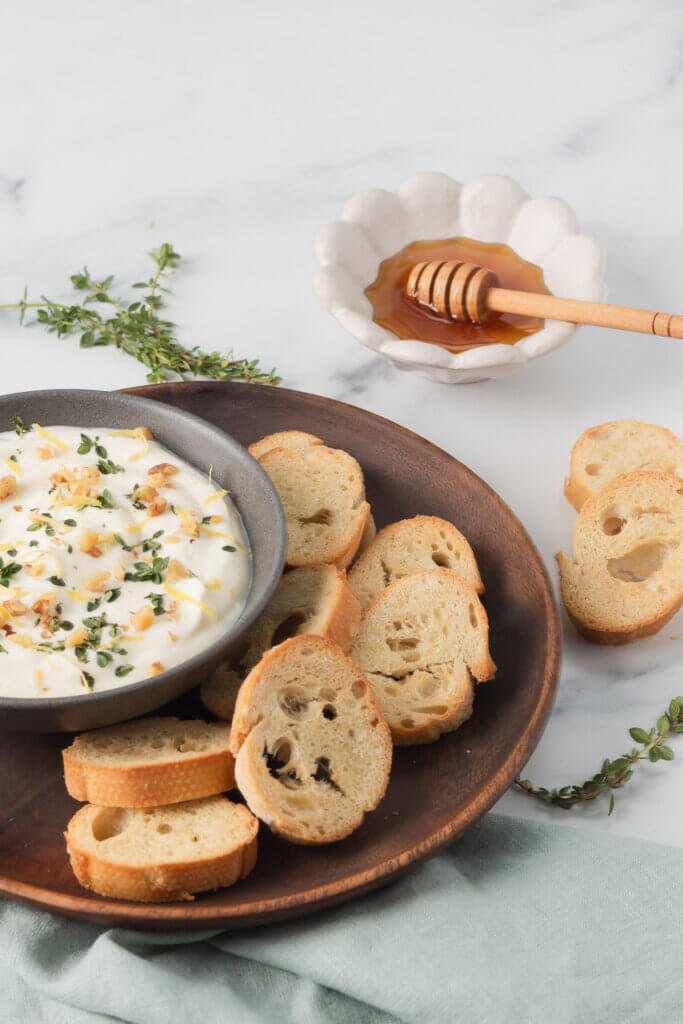
SERVING IDEAS
- Whipped ricotta + honey + fresh herbs + chopped nuts
- Prosciutto + fig jam + arugula
- Burrata + roasted tomatoes + pesto
- Mascarpone + strawberries + balsamic glaze
- Caramelized onions + goat cheese + fresh herbs
- Roast beef + horseradish cream + chives
MAKE AHEAD & STORAGE
Crostini can be made ahead and stored in an airtight container for several days, but they won’t retain their texture the way you’d hope. In my experience, the quality degrades fairly quickly. I prefer to make them no more than a few hours before serving, and I usually don’t keep leftovers.
My Honest Advice: Slice what you need, freeze the rest of the baguette, and bake more when you need them. The texture is so much better, and when you’re serving guests, spending a few extra minutes on a fresh batch is definitely worth it.
How to Make Perfectly Crisp Crostini
- Cutting board
- Bread knife
- Sheet pan
- Parchment paper
- Pastry brush
- 1 thin baguette
- 2 tablespoons olive oil
- Flaky salt, for finishing - optional
- Place an oven rack one level above the center position and preheat the oven to 450°F.
- Line a sheet pan with parchment paper, making sure the paper does not hang over the edge of the pan.
- Slice bread straight across – or on the bias, for larger pieces – about ⅓ to ½-inch thick.
- Arrange the bread slices in a single, evenly spaced layer on the sheet pan.
- Brush both sides of the bread with a thin, even coat of olive oil.
- Bake for 5-7 minutes, or until the edges are brown and the centers are golden.
- Let cool for about 10 minutes before serving. Sprinkle with a bit of flaky salt, if desired.





+ show Comments
- Hide Comments
add a comment